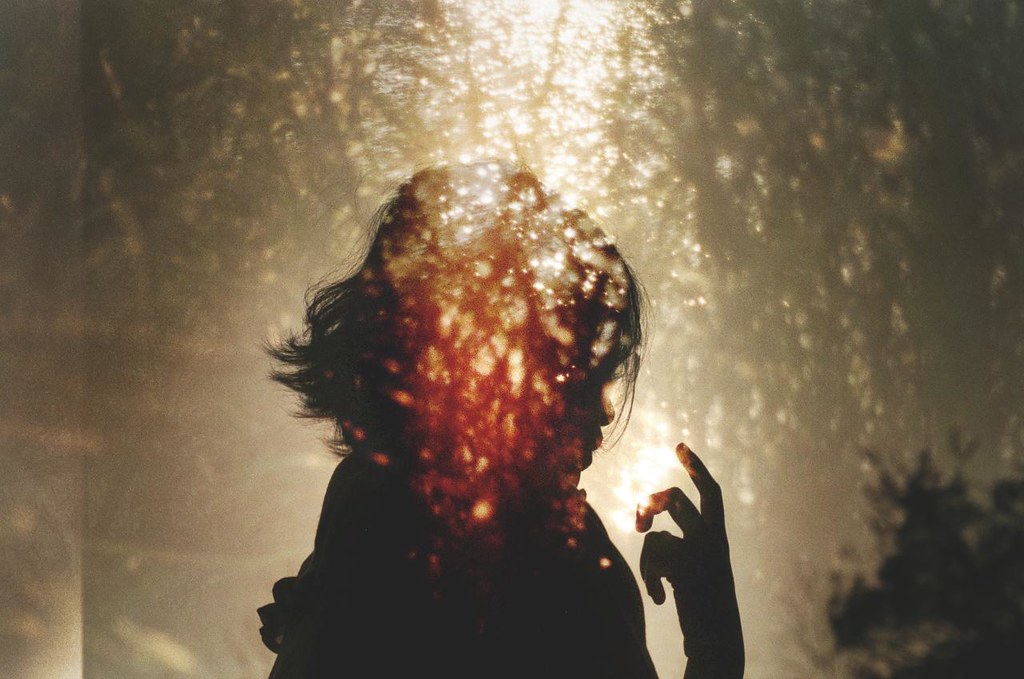
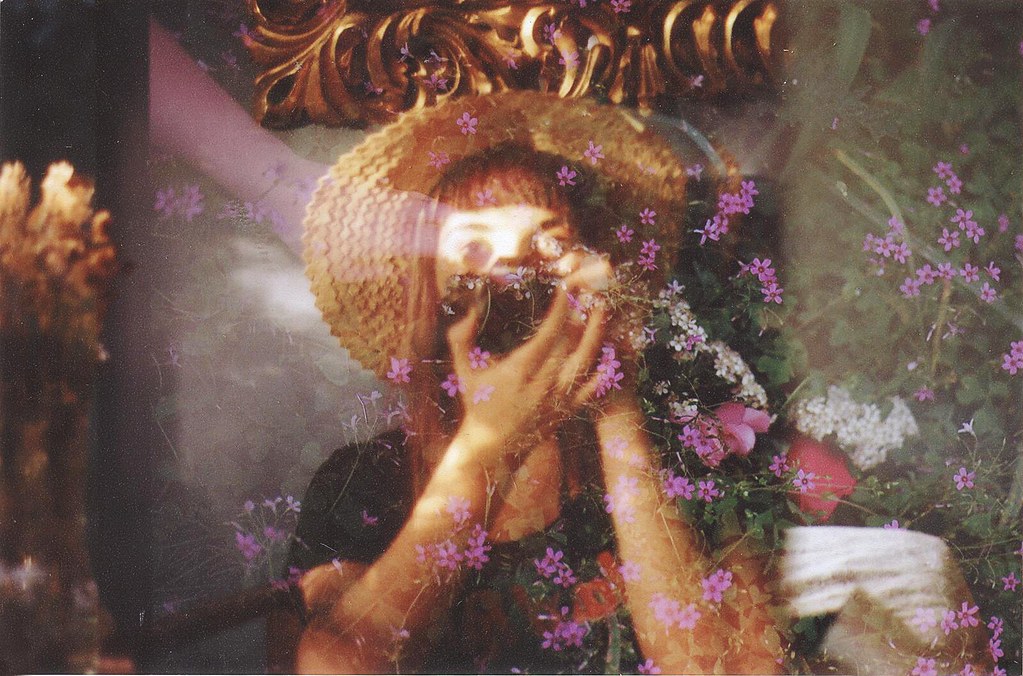
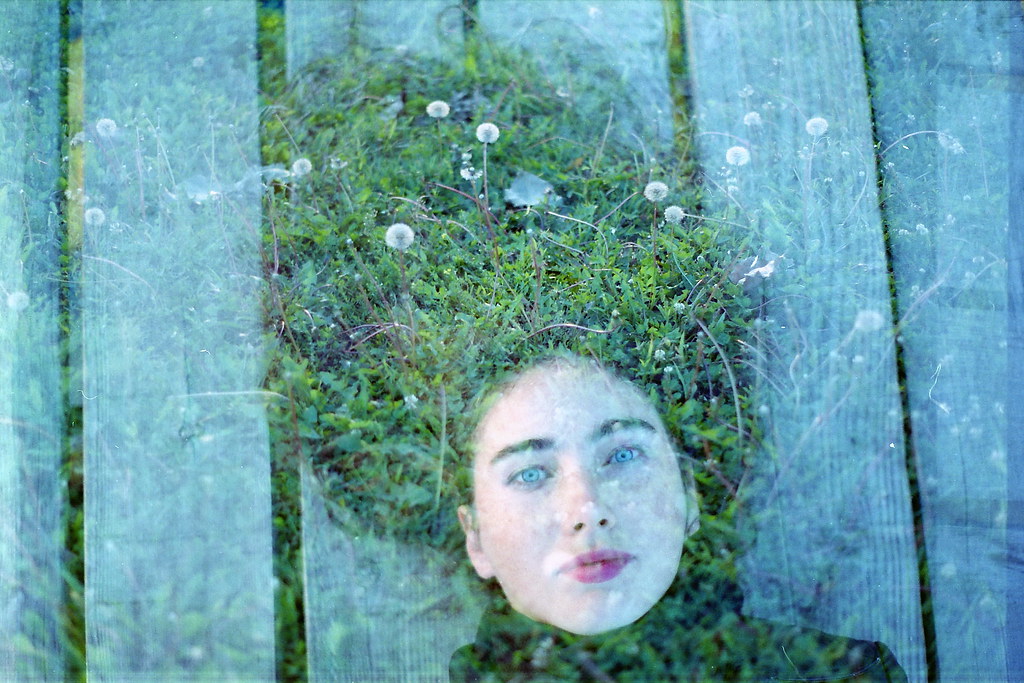
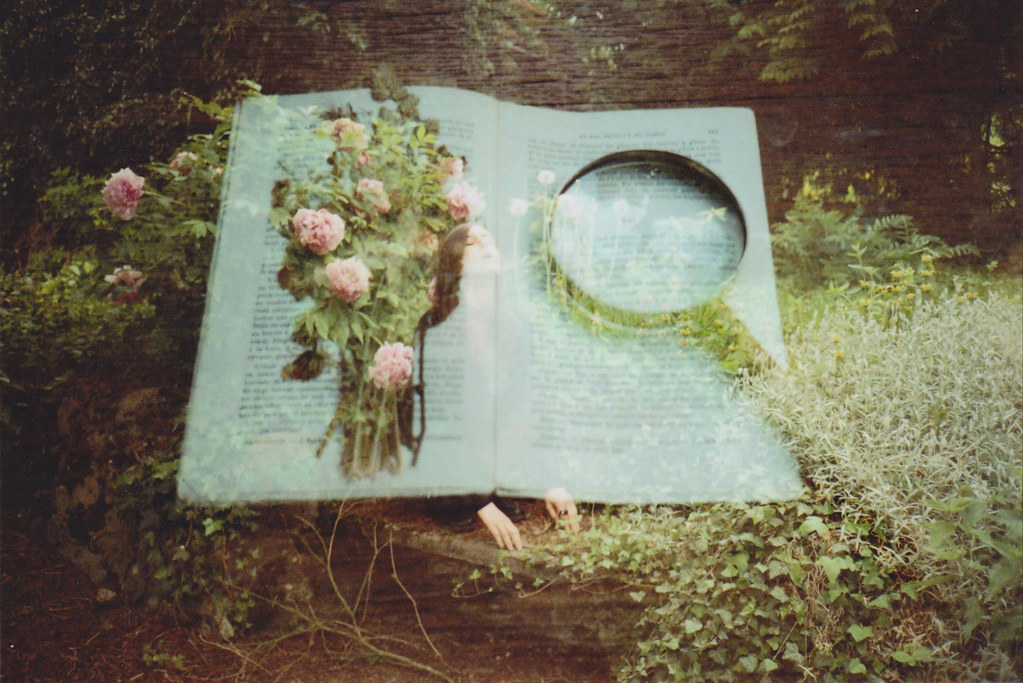
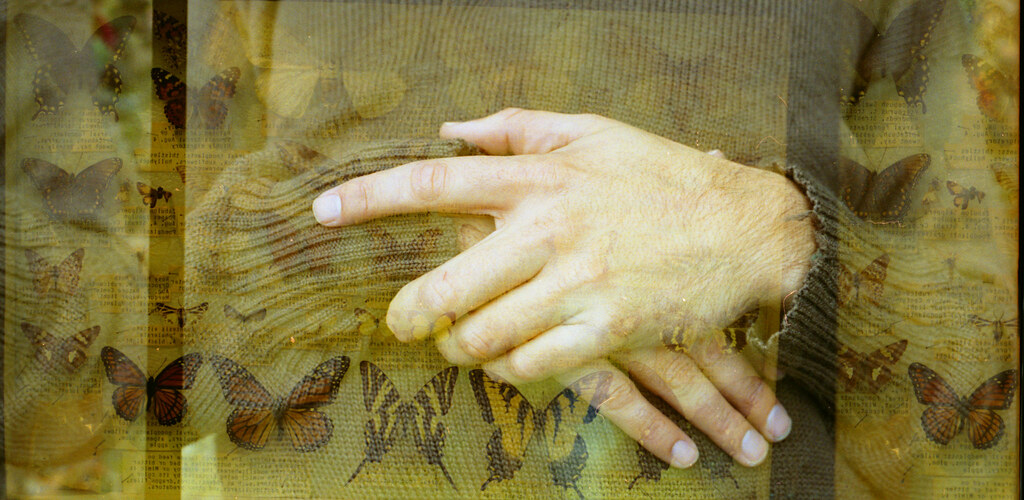
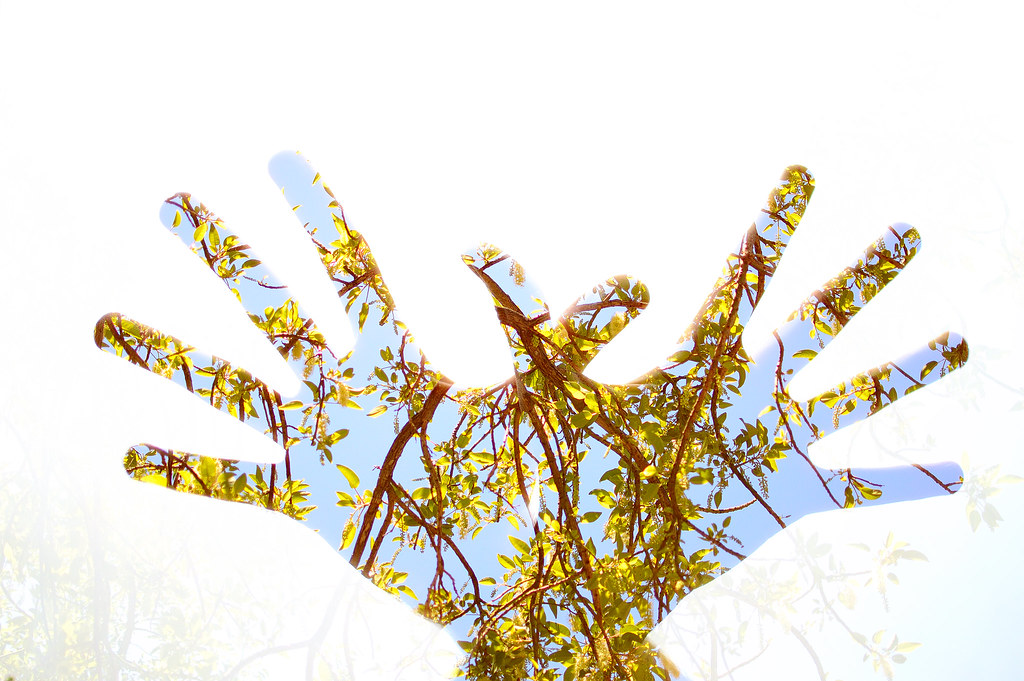
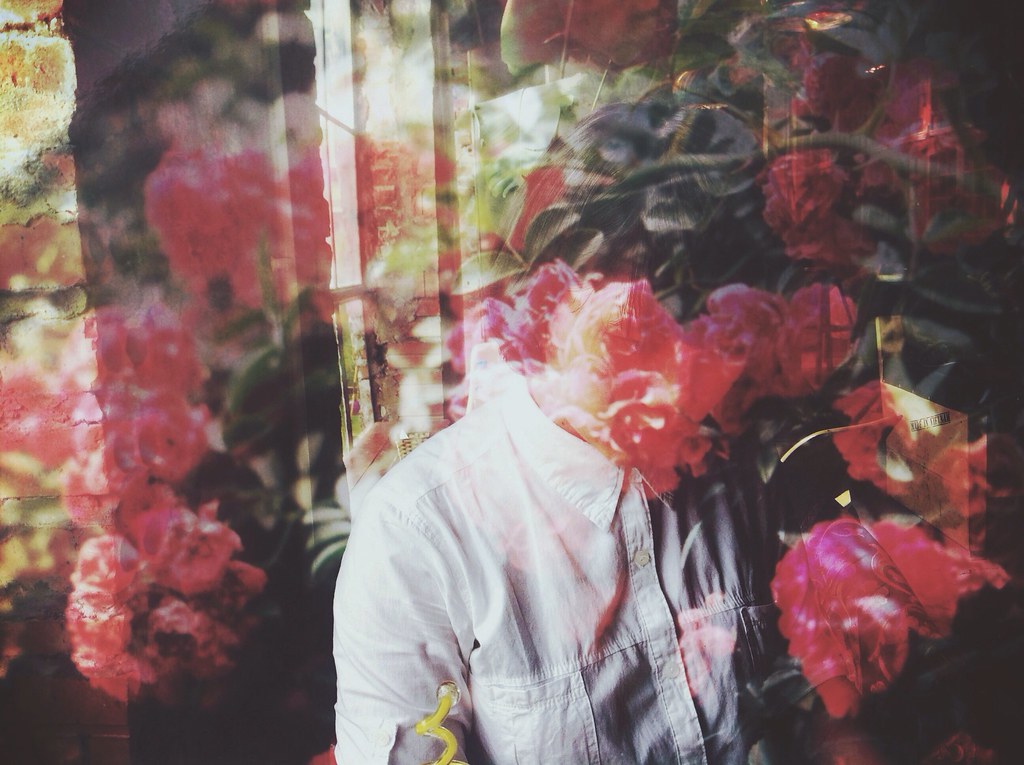
Double exposures are created by layering two photos on top of each other to create a single image.
Traditionally, a double exposure is made by shooting two or more photographs with an analog camera without advancing the film in between. Recently, photographers have created double exposures digitally, either in-camera or with Photoshop. Take a look at some of our favorite double exposures below and learn some fun tricks to try out!
When shooting a double exposure, remember to compensate for the film being exposed twice. If your camera has f-stop settings, try underexposing your images by one stop.
Plan out your photo before taking it. Two busy images might not work very well together to make a final photograph. Think about where the highlights are in one exposure and layering your second exposure to show up in those areas, or vice versa.
A fun trick for creating a double exposure is to play around with your f-stop settings so one of your exposures is more dominant than the other. By changing your settings, you can control which of your shots will be clearer.
Did you know you don’t need a fancy camera to do a double exposure? You can actually do one right on your phone with apps like Little Photo or Image Blender.
https://www.flickr.com/photos/gbenita/13721483713
If you have two separate images that you think would look great combined together, you can open them both in Photoshop, layer them on top of each other, and then play around with the opacity. Adjusting the opacity will allow for both photos to show through, creating one image.
https://www.flickr.com/photos/worteinbildern/11621891346/
Try shooting a whole roll of film, slightly under-exposed, and then swap the film with a friend and have them shoot over the same roll. It is very exciting to see the type of images you both come up with and how they might complement each other in the same frame!
Check out more of our favorite double exposures in the Flickr gallery here!
